
When I first thought about finishing The Princess And The Pea, I told myself the main thing I needed to do was paint the bed frame*, and that it shouldn’t take too long. (Experienced miniaturists are laughing already.) Finishing the bed frame has proved anything but quick, and my results are not as polished as I had hoped.**
To begin with, the bed seemed too plain for something from a fairy tale. The faux carvings I’d already added to the head and foot boards weren’t enough. So I spent hours gluing yarn and cardboard to the bedposts to make “carved” vines, leaves, and pea pods.
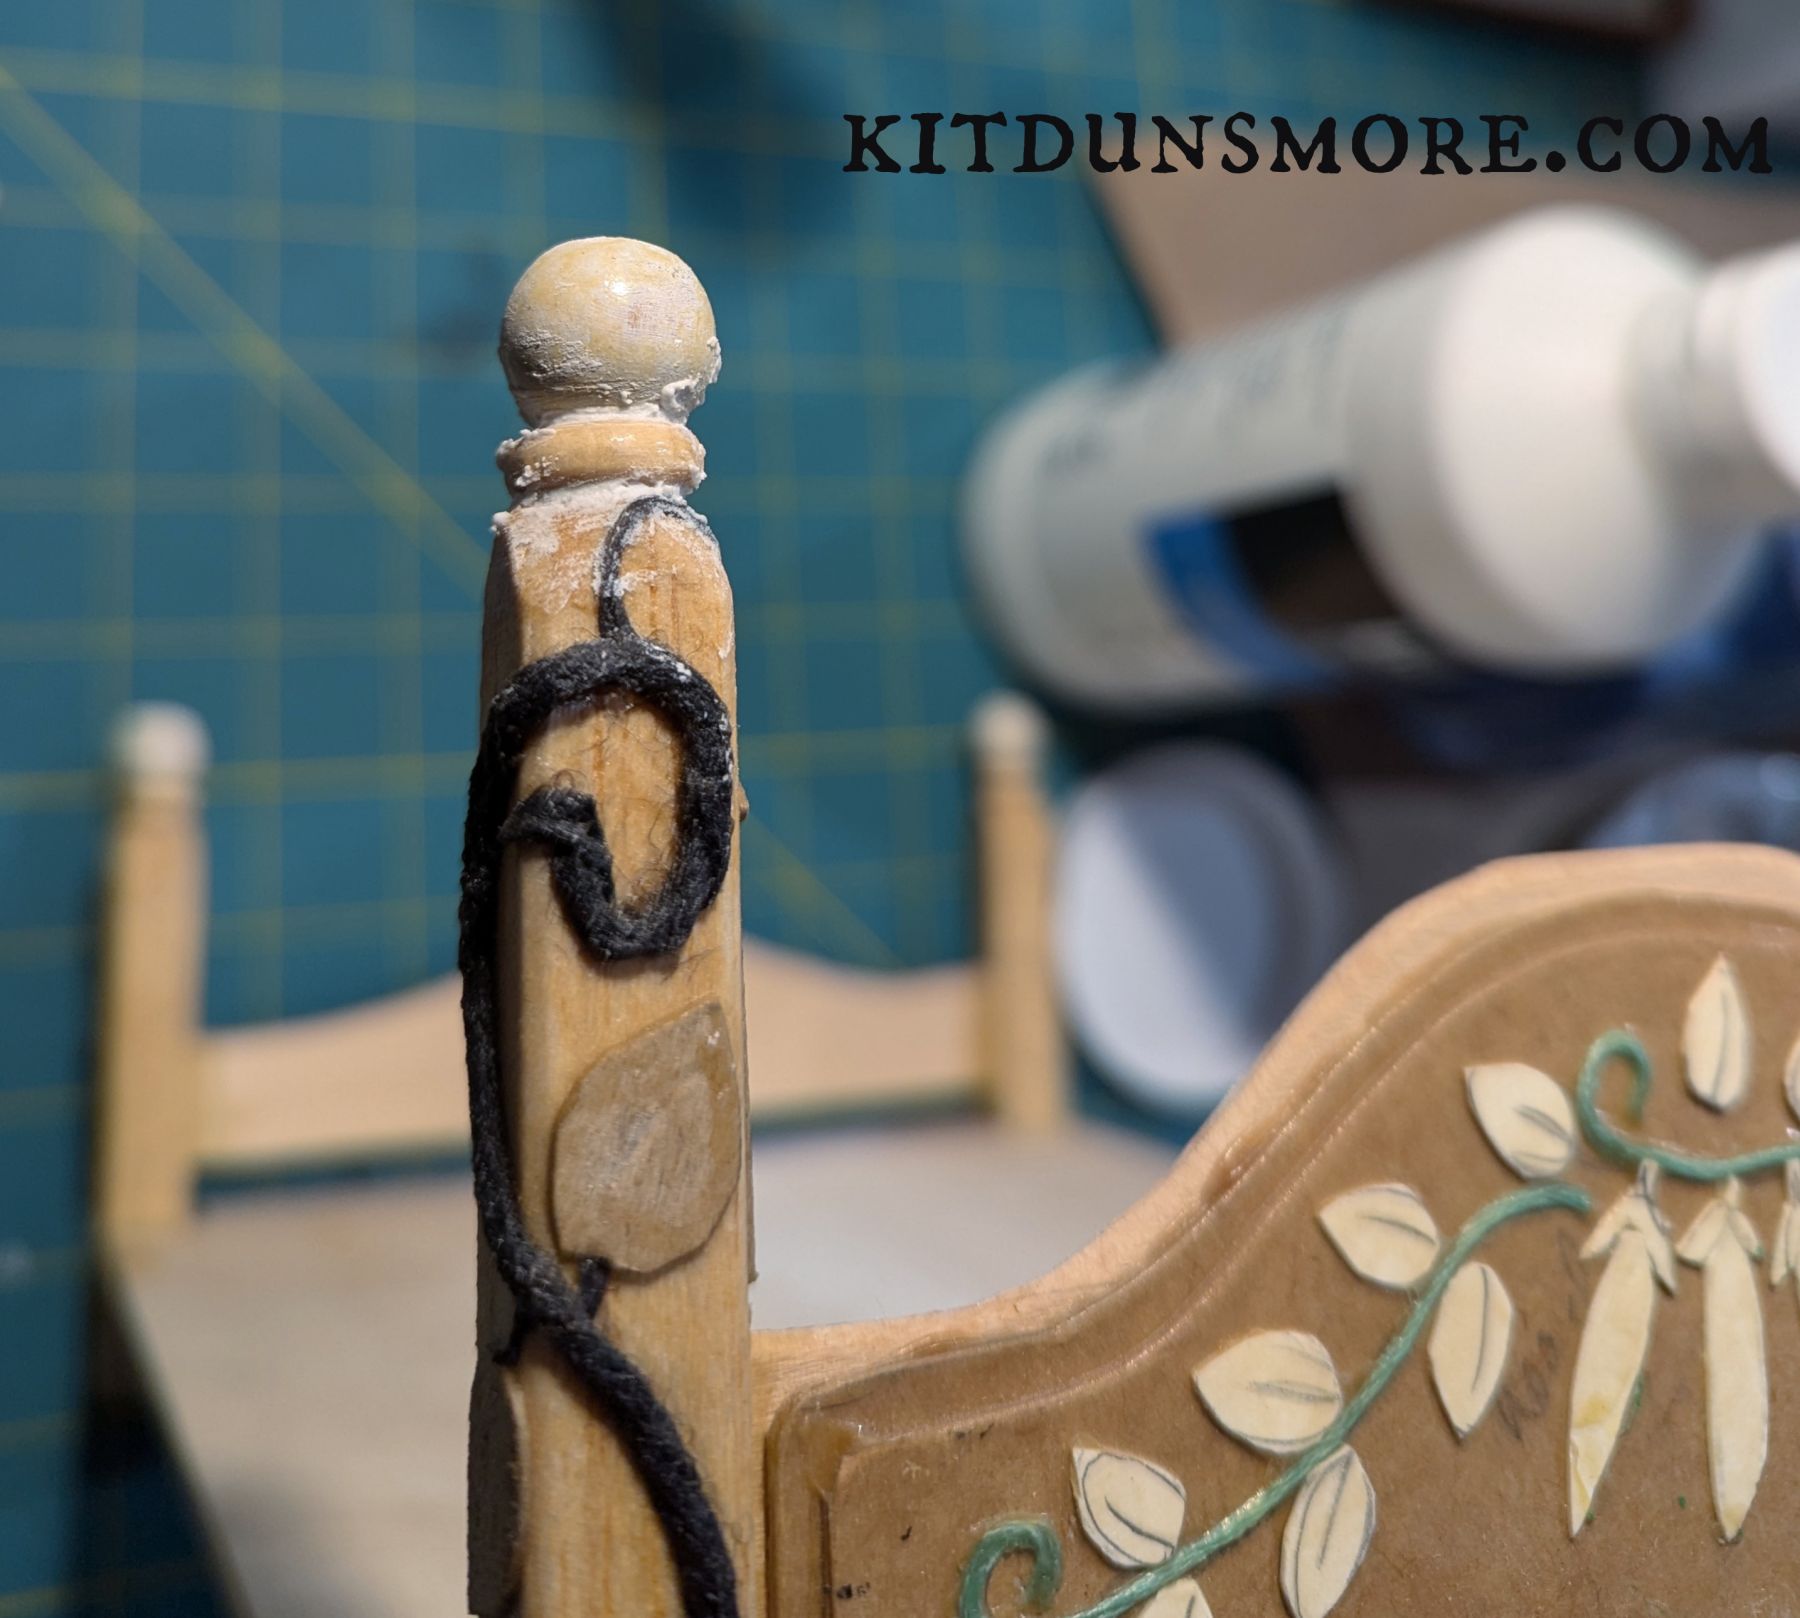
While I was doing that, I chose the finials. I auditioned lots of materials and settled on wooden beads. Attaching them required nails and glue. Then I filled the holes and gaps with spackle. It helped make the added pieces look like part of the post.
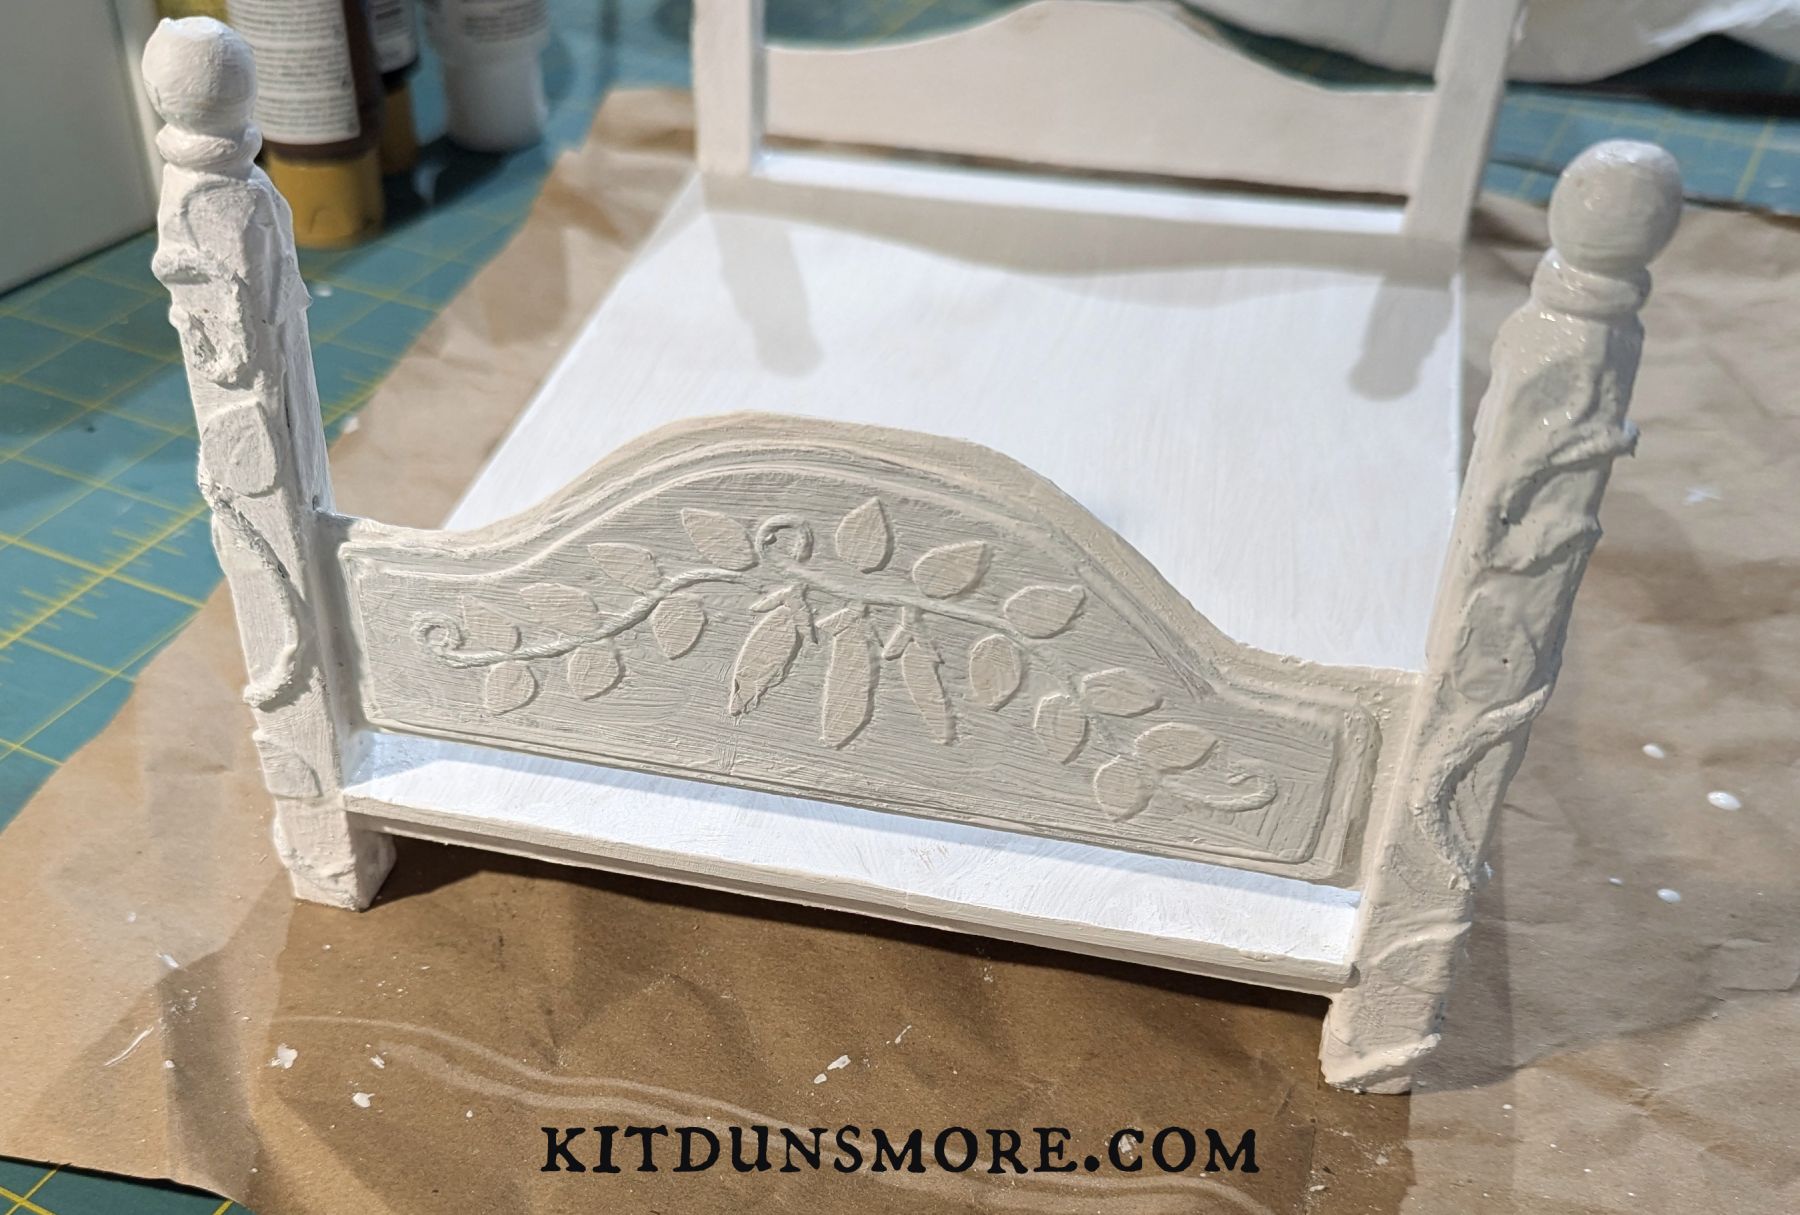
Once that was dried and sanded, I gessoed the whole thing. I would have preferred not to do this, but the bed is made of both wood and cardboard. Without gesso, the surfaces would look different from each other when painted. I wish now I had used black gesso, because it took a lot of layers to keep the white from showing through.

At last, I was ready to paint! As I added each layer, I tested the colors on the parts of the bed that will be covered with mattresses first. Being new to all this, my painting is less than stellar. I eventually got a look I can live with.

The most exciting part so far has been adding gold paint. Once I got started, it was hard to stop. It’s the one thing that makes me feel like this bed frame is truly fancy enough for a castle.


At this point, I’ve put nine different layers on the frame, and I want to do at least one more. What was supposed to take a couple hours has taken more like ten.
As Ara Bentley constantly reminds us, quality miniatures take time. I just hadn’t realized how much!
*I was wrong. I need to make a room!
**In fact, as I was editing the photos, I was dismayed at how rough the bed looks. I swear I sanded it! Can you tell? Instead of pulling this post, I’m sharing my crafting reality. I’m a beginner miniaturist. Sharing our ugly learning process helps others stick with it when they have trouble. Many of you are going to assure me the bed looks just fine. I agree. It’s fine. It could just be a lot better.

This looks like so much work but so much fun, Kit. I love seeing the progress as you post it.
It is fun, despite the uncertainty that goes with trying new things… Glad you are enjoying it.
You went to a lot of work to “age” the mattresses… Surely the bed frame is allowed to show a bit of age too? Too prefect wouldn’t look as realistic! 🙂
True. The trick is having things look like they go together without blending too much.